

Movie monster the size of the city that has a theme of the text itself as backtext effects that have light green, in this tutorial I will study how to create an effect similar to the text any posts Godzilla title.
Step Making Hot Godzilla Effect
1. Open a new file with Photoshop.
2. Change the background color is black with a letter D on your keyboard, then press Alt + Backspace. Or by selecting the Edit menu
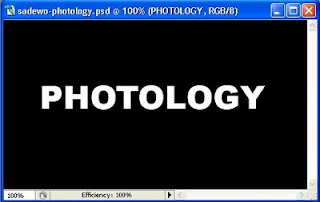
3. Select the Type tool in the Photoshop toolbox, and then type the words that will be given effect

4. Layer any posts must be in active condition, Emboss give effect to the writing. how to select the menu Filter> Stylize> Emboss. When a warning dialog box appears, click OK to confirm the rasterize. Set the value of the settings like the picture below
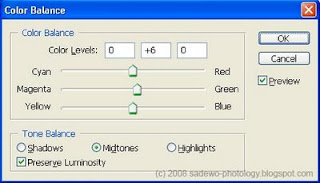
5. Choose the menu Image> adjustment> Color Balance. Make that any posts to be quite greenness.
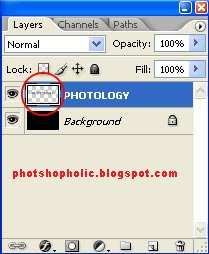
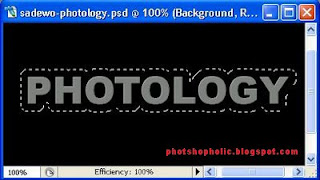
6. Munculkan selection on the layer writing. The easiest way to display the selection is to do Ctrl + click on the tumbnail layernya.
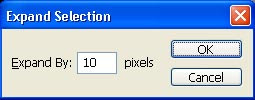
7. widen the area of selection by choosing the menu Select> Modify> Expand. Fill secukupnya value.
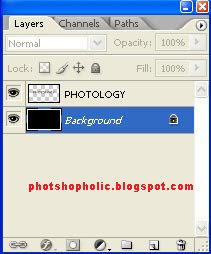
8. Its white on the background layer in the area which is in the selection. Ensure that conditions in the background layer active
9. Then press D on your keyboard, then press Ctrl + Backspace.
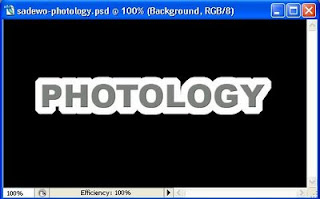
After appearing on the white area of selection, the selection removed. How to select the menu Select> Deselect. The result is like the picture below.
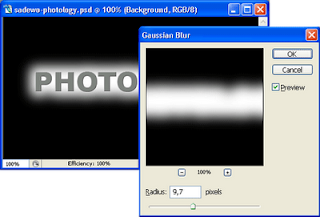
10 Give the effect of fading on the background layer (Filter> blur> Gaussian blur.)
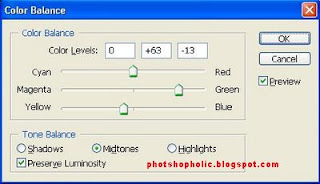
11 Create a color background color of yellow mixed with green, how to select the menu Image> adjustment> Color Balance. Slide the slider settings towards Green and Yellow. Do this on each color range Shadow, Midtone, and Highlight. Value your settings as you desire.

12 Make a background that becomes a bit hollow. How to select the Filter> Distort> Wave. To find a random distortion of the other, Click Randomize button.

Done
Creating Shadows (glass floor)
Photoshop Tools
clarify the color with Photoshop
Become advanced Photoshop
Different colors with Photoshop.
Photoshop Work Area.
Tools Photoshop part 2
Photoshop Work Area.
Tutorial Photohop, Create Wallpaper
Resizing an image using Photoshop
Change the color images with Photoshop
Create Photo glamorous
Source: mbahdewo.com (with translation)
Step Making Hot Godzilla Effect
1. Open a new file with Photoshop.

2. Change the background color is black with a letter D on your keyboard, then press Alt + Backspace. Or by selecting the Edit menu

3. Select the Type tool in the Photoshop toolbox, and then type the words that will be given effect

4. Layer any posts must be in active condition, Emboss give effect to the writing. how to select the menu Filter> Stylize> Emboss. When a warning dialog box appears, click OK to confirm the rasterize. Set the value of the settings like the picture below

5. Choose the menu Image> adjustment> Color Balance. Make that any posts to be quite greenness.

6. Munculkan selection on the layer writing. The easiest way to display the selection is to do Ctrl + click on the tumbnail layernya.

7. widen the area of selection by choosing the menu Select> Modify> Expand. Fill secukupnya value.


8. Its white on the background layer in the area which is in the selection. Ensure that conditions in the background layer active

9. Then press D on your keyboard, then press Ctrl + Backspace.
After appearing on the white area of selection, the selection removed. How to select the menu Select> Deselect. The result is like the picture below.

10 Give the effect of fading on the background layer (Filter> blur> Gaussian blur.)

11 Create a color background color of yellow mixed with green, how to select the menu Image> adjustment> Color Balance. Slide the slider settings towards Green and Yellow. Do this on each color range Shadow, Midtone, and Highlight. Value your settings as you desire.

12 Make a background that becomes a bit hollow. How to select the Filter> Distort> Wave. To find a random distortion of the other, Click Randomize button.

Done
Creating Shadows (glass floor)
Photoshop Tools
clarify the color with Photoshop
Become advanced Photoshop
Different colors with Photoshop.
Photoshop Work Area.
Tools Photoshop part 2
Photoshop Work Area.
Tutorial Photohop, Create Wallpaper
Resizing an image using Photoshop
Change the color images with Photoshop
Create Photo glamorous
Source: mbahdewo.com (with translation)


0 komentar:
Posting Komentar